Models made by Airbrushheaven staff

Models made by Airbrushheaven staff

Friday 29 April 2016

1/35 "Ingram 2" Patlabor - Part 6


Time now to do some work on the front of the body. The lens are meant to be amber, these were painted with Crystal Orange as in part 2 of the blog.  Satin Black was used for the grills & the lens pushed into those. I found that the grill were very hard to push into place & had to get a file to the inside of parts A13 & A14 to make them fit better.

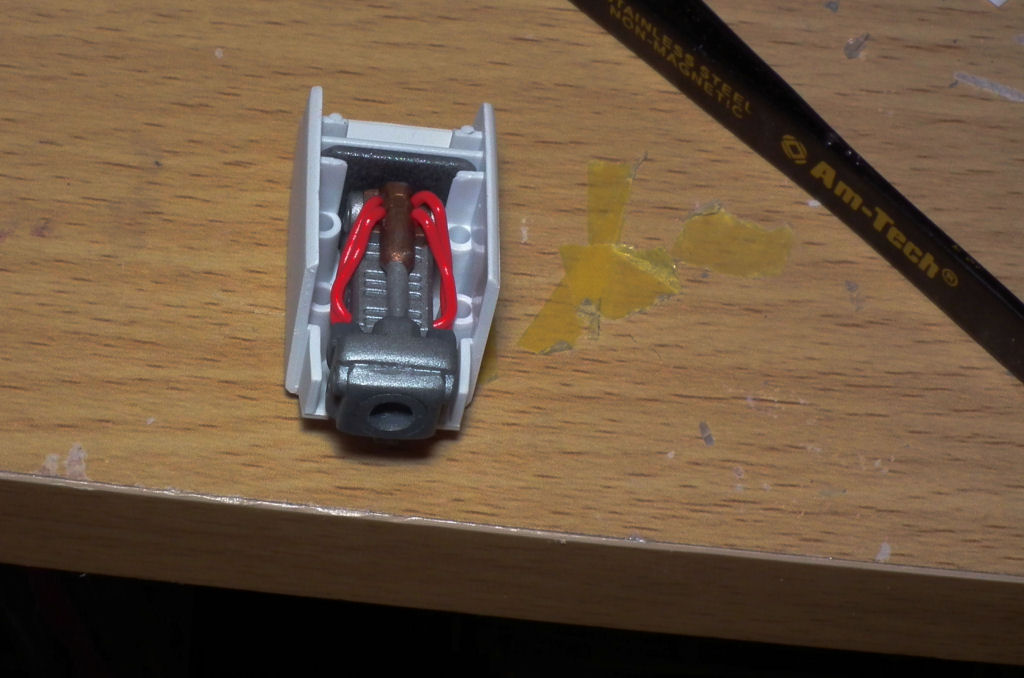
At this stage I pushed in the shoulder joints to the body & they go in with a clicking sound as the ball joints sits in the body.  The lower body covers (A7 & A9) were sprayed Satin Black then put in place.
 

The body is coming together nicely & the top ½ needs some attention. The shoulder armour, lower access hatch (B29) & all the top armour pieces were done in White primer & the fixing bracket for the hatch in Plate Mail.  The shoulder armour went together over the lights with a poly-cap in place inside & then pushed onto the remaining ball joint in the shoulder. The upper hatch was done in Satin Black then fitted to the arms that come out by the HUD.   The top armour & neck gaiter just plug into position.
 

Let’s start to put this bad boy together.
The elbow armour was sprayed white then then the gaiter for the arm pushed over the arms & then this unit & the elbow armour fit into the shoulder joint on the main body. The head just clicks into place on the top & the waist then fits at the bottom. 
The gaiter for the waist can be pushed into place with a cocktail stick or the blade of a small flat screwdriver. The painted shoulder pads were pushed into place, and then the gold crest fits to the front.
The armour for the upper part of the legs were painted & fitted to the earlier made units & are pushed into place on the lower leg through the gaiter for the knees.

One of the final parts is to make the weapons & shield.  The shield is a simple 2 part unit painted black & white.
The pistol was painted in satin black, then to give some detail the grip was painted with mix of dark brown & matt black & the chamber in plate mail primer & then fitted. The night stick was in satin black & “Ammo Of Mig” rubber (AMIG-033). The shotgun was done in Aluminium, Gun metal & the pump action section satin black.

A large majority of Japanese kits use rub down transfers & stickers instead of water slide decals that I am more used to, so still perfecting the art of doing it right. This kit comes with 2 types, so decided to lay them out & see which would look best on the kit.
The trick with rub down transfers is to use some low tack masking tape to hold it in place while you rub so the transfer doesn’t move & split.  
Just a simple case of fitting the legs, shield & deciding what weapon to have & the Ingram is done.


Friday 22 April 2016

1/35 "Ingram 2" Patlabor - Part 5


Time to work on the head. As I am spraying the model it was easier for me to make the LHS antennae (L19,L20 & L22) first so I could sand any seam lines down, give it a coat of White primer, then mask off the tip where the sticker goes & spray that area in U.S.Grey. 
Part J13 comes in clear Green, but you need to mask off a lot of the centre part & all the back of the visor then spray it White to get the right effect. 
Bar parts J14 & J7 all the other head parts were coated with White primer.
Just be gentle when pushing these parts together as some are very small & may snap.
Here comes the part we’ve all been waiting for with this kit… Oh yes flashing lights.

Before putting the light unit in I had tested that they worked, the unit sits in the back of the body & the 2 main cables come out of the side.
The back panel (N1) was sprayed in Plate Mail primer & when dry screwed into place. At this stage it is best to make sure that you have the lights facing the right way. The 4 lights should face forwards & only 2 LED’s should face backwards.
You need to make a pair of coupling arms in section 29 & these do not need to be painted. 
Best way I found to fit these over the cables was to fit the support rings E5 to the rubber gaiters first, then gently slide them over the light unit & then to fit the couplings arms inside the gaiter. Just to be sure I checked the lights still worked.
Gently push the connectors into the side of the body & you may here a slight click so you know they are in place.
The light supports (I5 & I4) were sprayed white & then fitted to the light unit. Make sure again before you do that you have the 4 LED’s facing forwards then the red lens just clicks on top.

Friday 8 April 2016

1/35 "Ingram 2" Patlabor - Part 4


Now to work on the Ingram’s arms.
The top joints are both the same & as they will not be seen on the finished kit I just screwed them together as in section 11 of the manual.   The right hand side lower arm is meant to slide down so he can reach the gun mounted in the leg & does need a bit of work.
The sides of the arm & rear plate E6 were painted Plate Mail primer, the sliding beam & fixing clip in Magnesium & the piston in Plate Mail & a copper top section. The left arm comes in just 2 pieces & was done in Plate Mail & copper. The outer armour pieces (B30,B31,B32 & B33) were sprayed in the White primer.

 You need to cut 2 pieces of red wire that go through the arm & bend into place.  The completed lower arm sits into the armour.

The end caps (A16) were sprayed in Satin Black then they push into place on the arm.

The hip joint is a simple 3 piece unit that screws together, the connecting joint D13 pushed into place, then sprayed in Plate Mail primer.

 The outer casing for the hips (B38) had the winch fitted & then sprayed in White primer.  The winch cable was hand painted in Aluminium & then a black wash to bring out the depth of the cable more.
This unit then pushes into the waist section that was done back on part 2 of this blog.