As I am nearing completion of the Porsche though it time to
do some preparation work on the top of the car.
I had a look at the way the roof section (part J12) fitted
onto the rear section to see the gap was too large for my
personal choice. The best thing for me
was to glue this in position then just give it a light sand so that the join
was still visible but was secure. I then
fitted the rear engine cover (J7) under the air intakes. I masked off the top of the body &
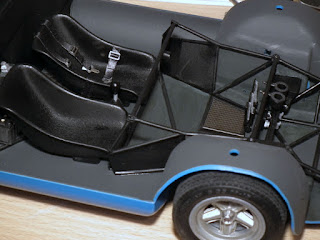
sprayed the whole inside with the same Matt Tank grey (Humbrol 67) as the
floorpan.
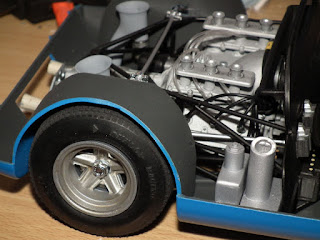
After a few days to make sure the paint was fully cured I masked off the inside areas & gave the whole upper body light coats of the blue used on the underside & giving it a very light sand between coats to remove any imperfections. After about 5 light coats I got the desired paint finish I was looking for.
To let the car paint totally cure & harden, which can
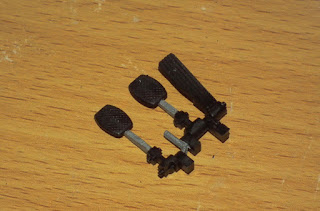
take days under normal temperatures, I did some work on the pedals by giving
them a light sanding down to remove some
flash marks. The pedals were painted black & the shafts in aluminium.
The wheels I did in blog post No.11 were fitted with the
wheel nuts left in the chrome to just give them a slight accent.
Now comes a part that even now I still don’t like… fitting
large clear parts into models. Somehow I
cannot get the great finish & unblemished
ones seen in models done by my peers, so have to do my own work around.
As this part should not be touched when I’ve finished the kit I used some
canopy PVA glue in a small bead around the bulkhead, then held the clear
plastic in place with soft ended pegs while it set.
This did set the plastic in place, but I can still some small
sections where it looks like the glue hasn’t stuck it down fully. Tips please required on how to get a better
job done of clear parts J.


No comments:
Post a Comment